
Biltmore Homespun: From Raw Wool to Finished Fabric


Have you ever wondered how Biltmore Industries transformed raw wool into its signature fine fabric? Known as Biltmore Homespun, this woolen cloth evoked the charm of traditional handcraft, even though the yarn itself was not spun by hand. The scale of production had simply outgrown the humble spinning wheel. However, what remained truly handcrafted was the weaving. The yarn was handwoven on people-powered looms, each length of fabric brought to life through the skilled rhythm of artisan weavers.
What made Biltmore Industries unique was its ability to manage every step of the process in-house—from raw wool to finished fabric. While most companies specialized in just one or two stages of production, Biltmore Industries did it all.
Where did the wool come from?
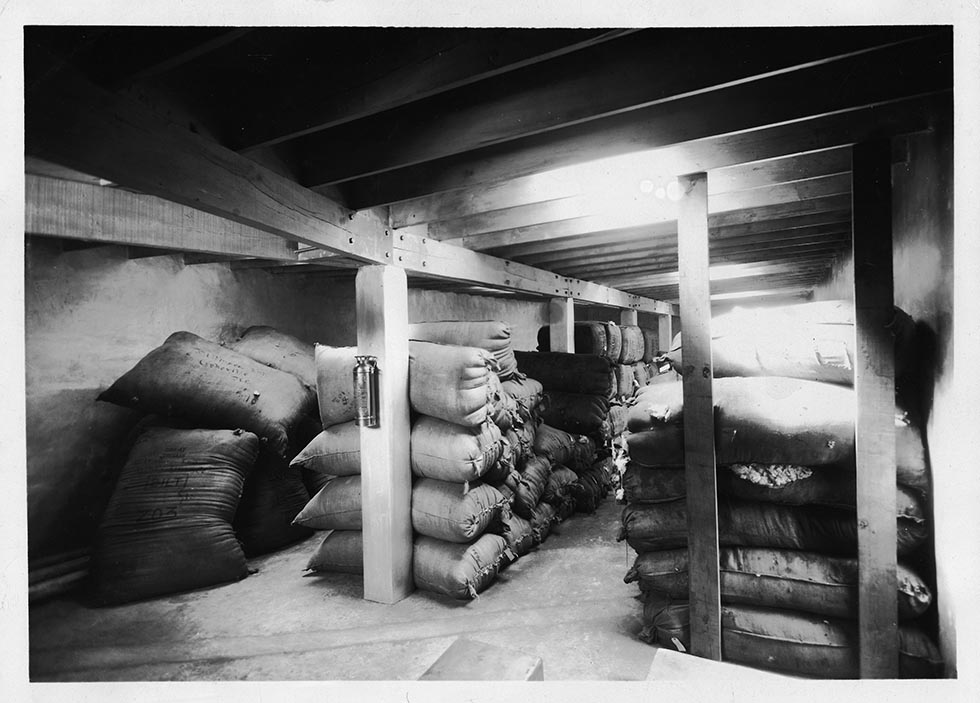
Most of the raw wool used to create Biltmore Homespun was sourced from New Zealand and Australia. It journeyed across the Pacific Ocean in cargo ships, arriving at major U.S. seaports before being transported by train to Asheville.
The Production Steps
Take a closer look at the many steps that transformed raw fleece into the beautifully woven textiles that became a hallmark of Biltmore Industries.
Step 1: Washing Raw Wool
Once the raw wool arrived at Biltmore Industries, it was washed to prepare it for dyeing. This process helped remove dirt and other impurities, allowing the dye to adhere more evenly and effectively to the clean fibers.
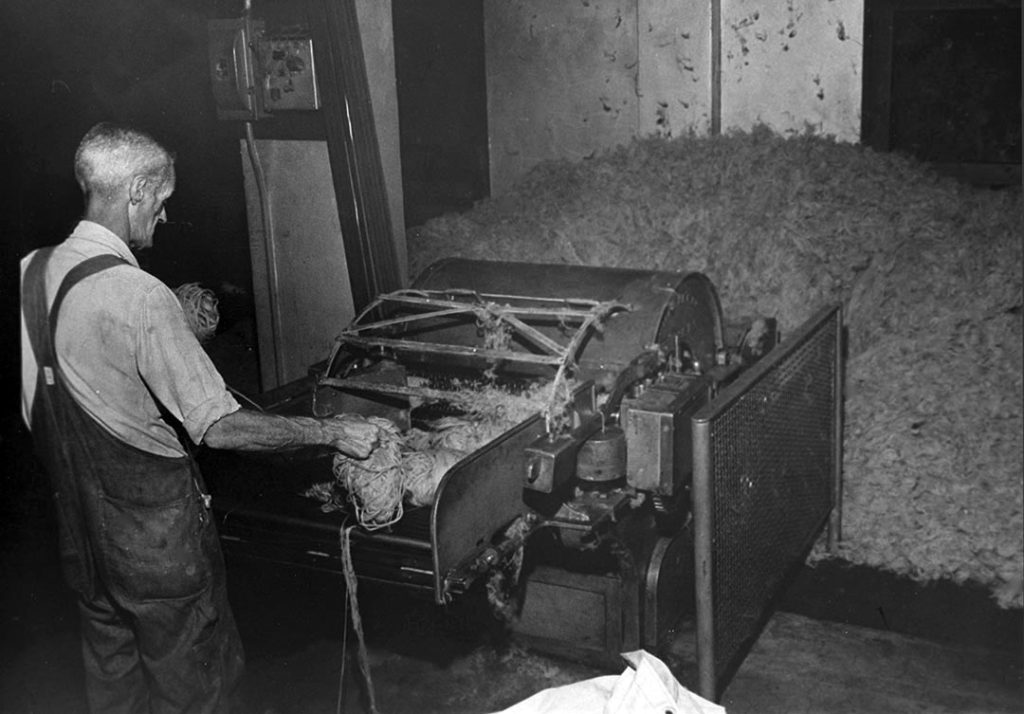
Step 2: The Picker Machine
Raw wool was first run through a machine that “picked out” bits of debris—leaves, sticks, seeds, and other natural matter—that had become embedded in the sheep’s coat.
Step 3: The Duster
Next, the duster was used to further clean the wool, removing fine dust and pollens.
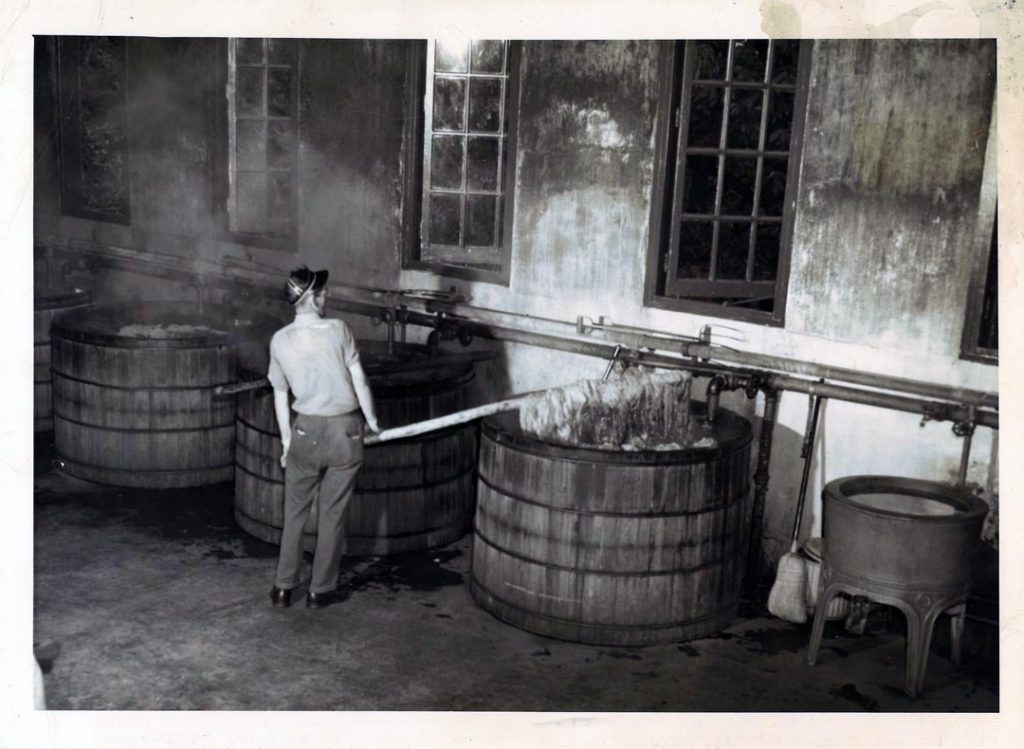
Step 4: Pole Dying in Cypress Vats
The carefully prepared dyes were mixed in cypress vats, where loose wool was immersed and stirred continuously by hand with a long wooden pole.
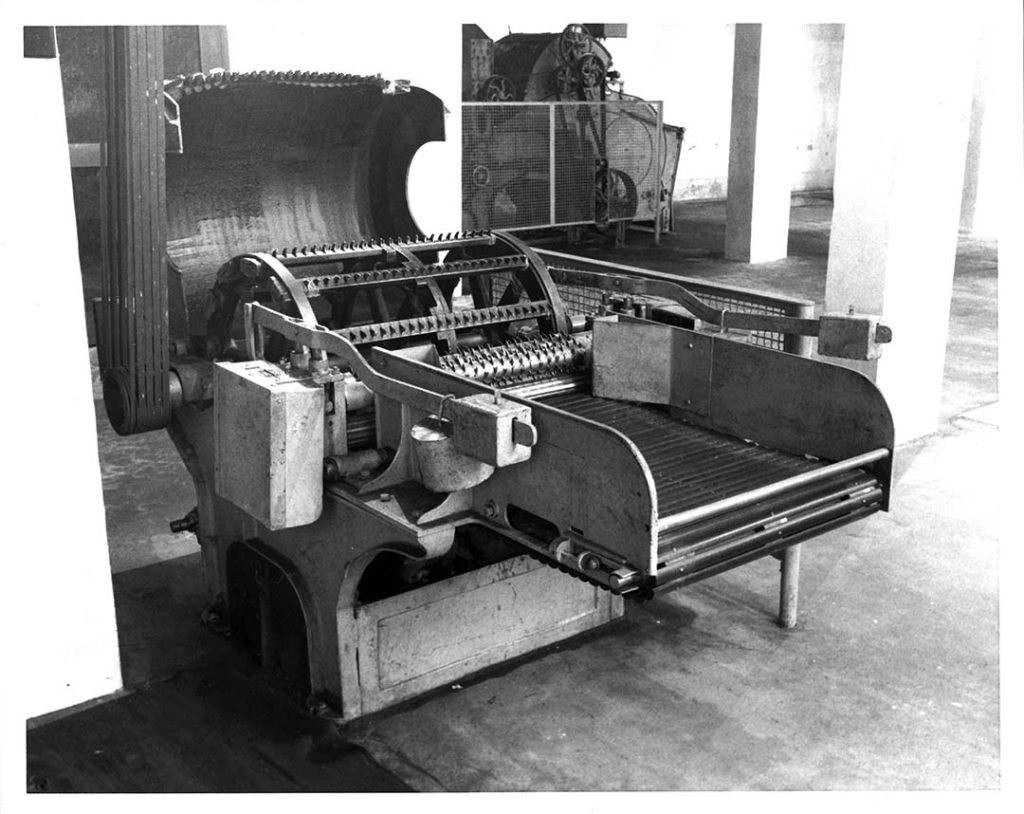
Step 5: Shredding Picker Machine
After dyeing, the wool was fed through another picker machine for further refinement. This machine uses rotating spiked rollers or teeth to pull apart clumped fibers, opening them up and loosening the wool. This step helps further clean the fibers and prepares them for carding (the process of separating and aligning the wool for spinning).
Step 6: The Mixer and Oiling Machine
The mixer and oiling machine was used to blend the wool fibers and apply oil in preparation for the carding process (the process of separating and aligning wool fibers). This oil lubricates the fibers, reducing friction and breakage during carding and other processing steps.
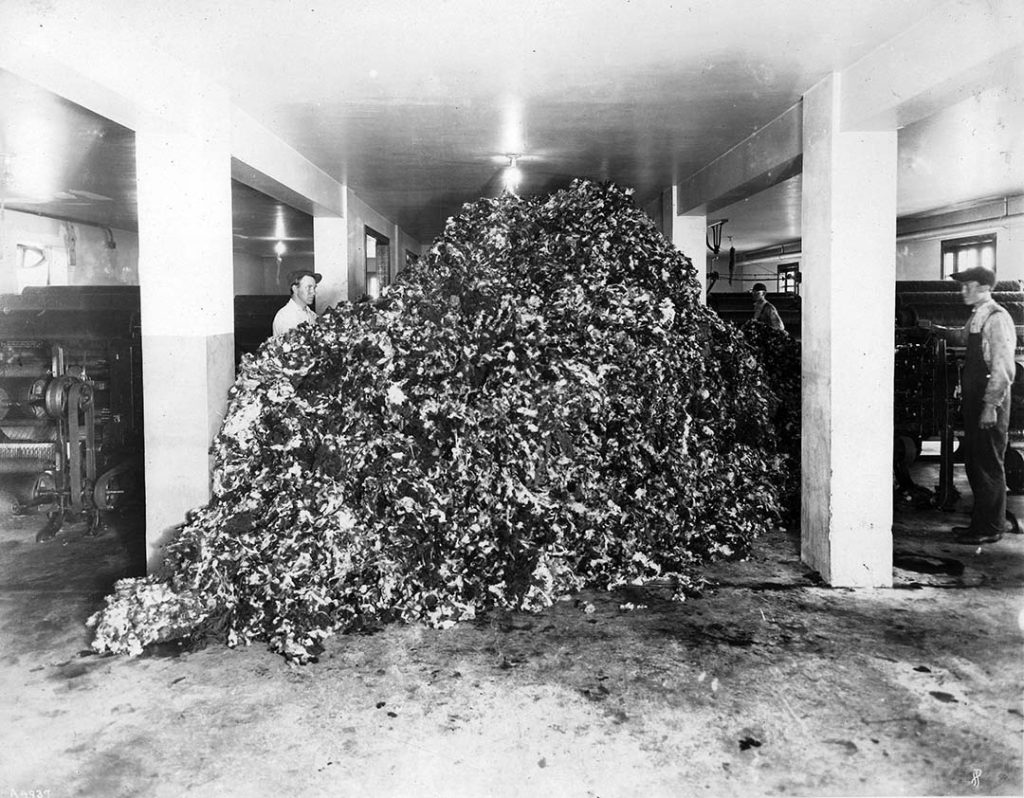
Step 7: Carding
After the wool was washed, dyed, and opened up by a picker, it was still a messy jumble of fibers. Carding gently separates, straightens, and aligns those fibers to make them smooth and ready for spinning into yarn.
The wool was fed into a carding machine, which uses large rotating cylinders covered in fine wire teeth. As the wool passed through these rollers, the teeth pulled the fibers apart and combed them into a soft, even web. This web was then gathered into long, rope-like strands called rovings.
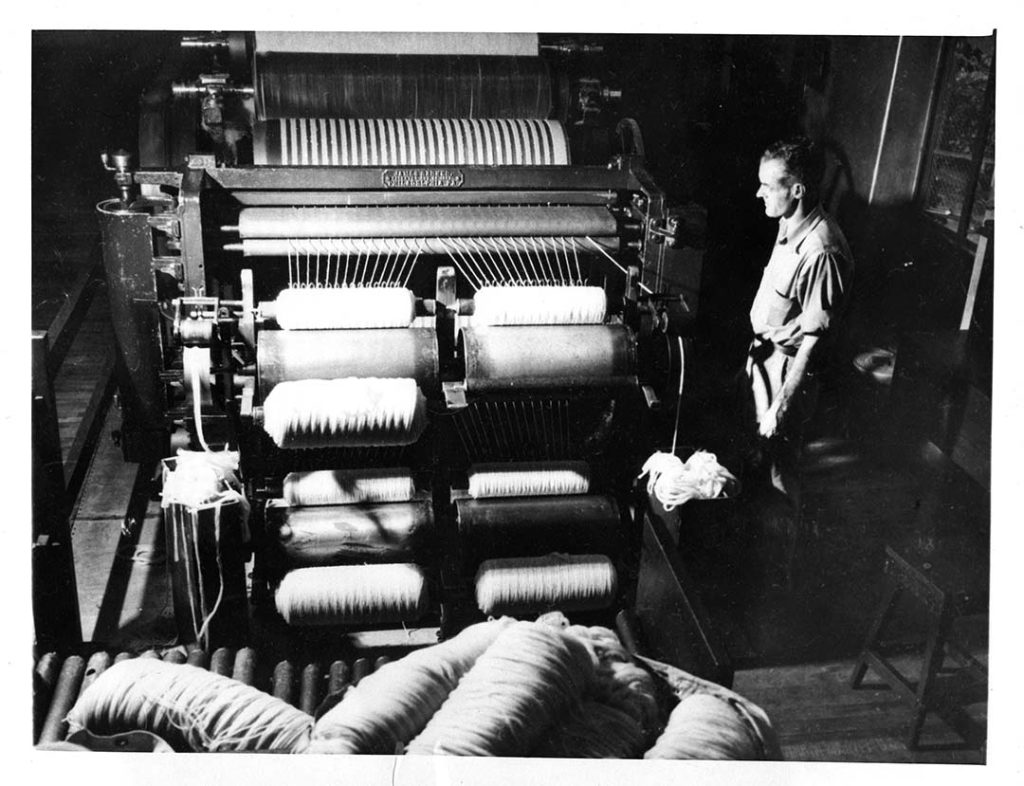
Carding not only untangles and aligns the fibers, but also blends colors if different dyed wools are mixed.
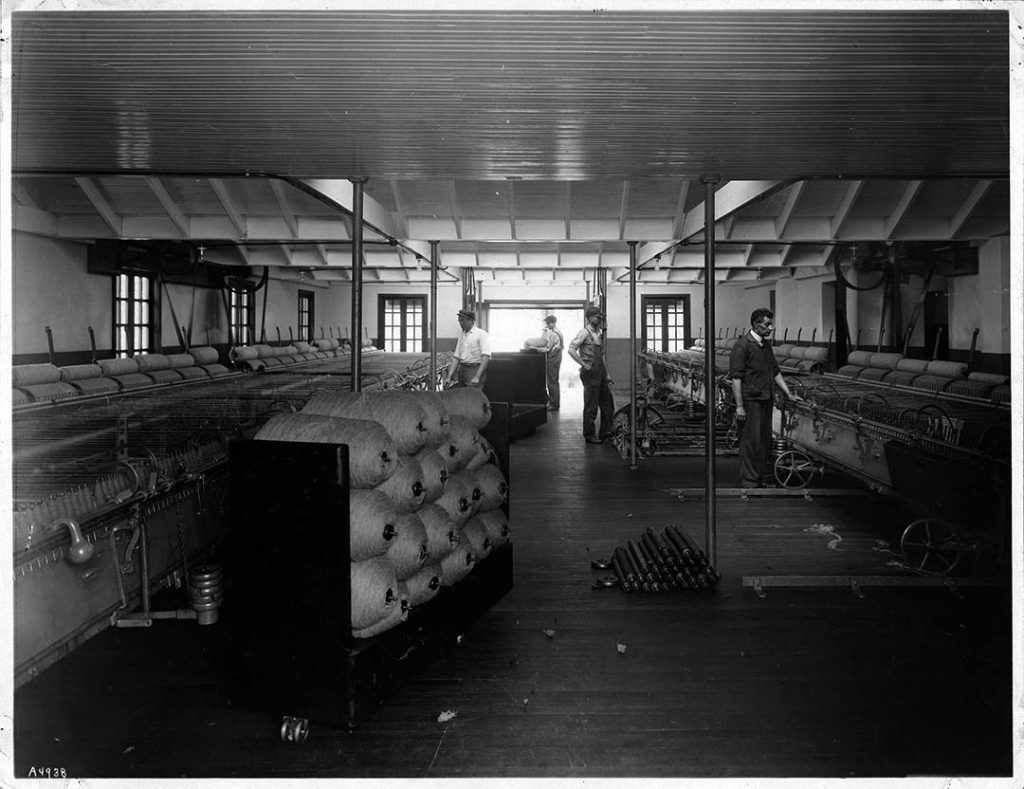
Step 8: The Spinning Mule
The rolls of carded wool were brought to the spinning mule, where they were spun into fine threads and wound onto bobbins. Invented by Samuel Crompton in 1779, the spinning mule was a groundbreaking advancement in textile manufacturing, capable of producing high-quality, uniform yarn at a much faster rate than earlier methods.
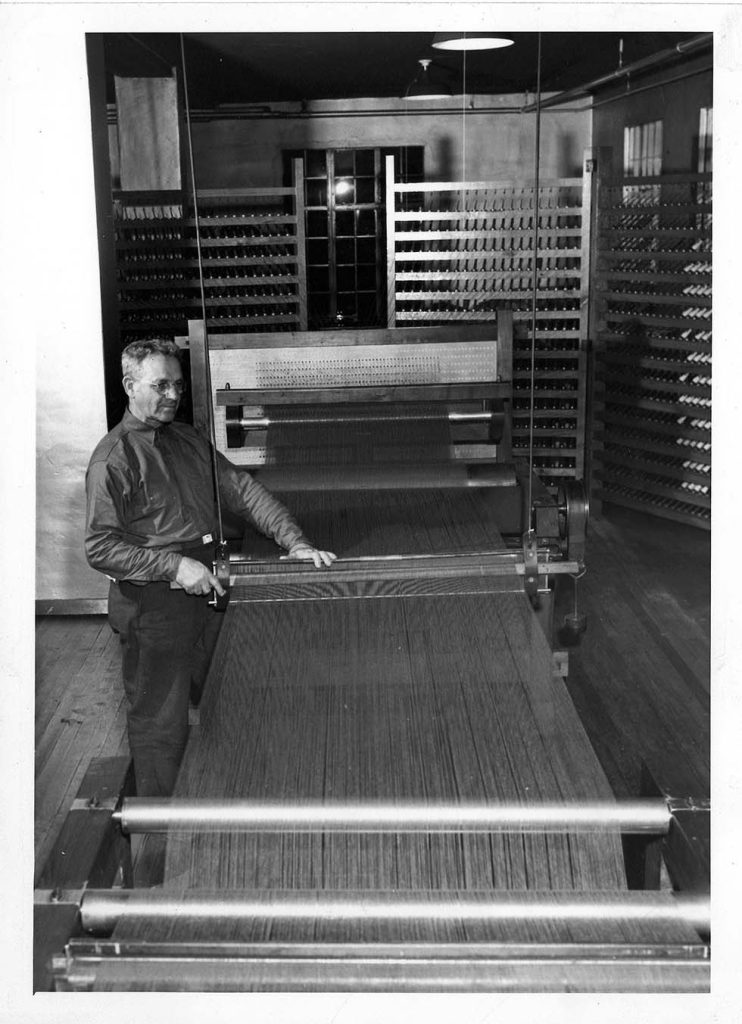
Step 9: Spun Threads are Warped
After the wool was spun into yarn, it had to be carefully measured and stretched to create the warp—the long threads that run vertically on the loom. Before warping could begin, the spun wool—wound onto bobbins—was transferred to a warping board. To do this, the bobbins were placed on a special wooden stand called a creel, which held them upright and allowed the yarn to unwind smoothly and evenly.
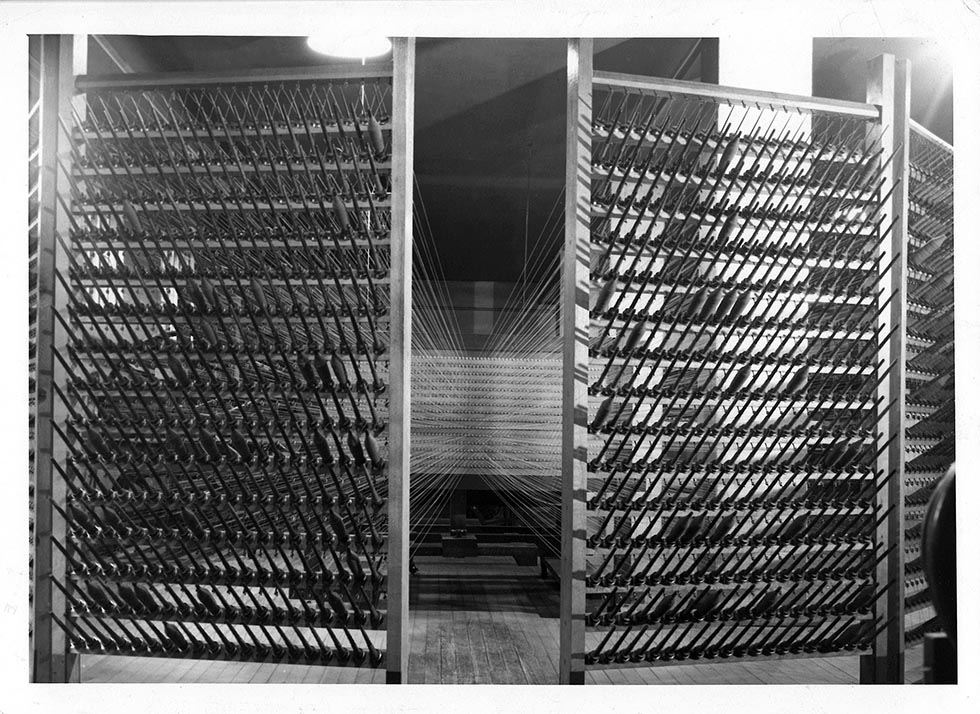
From the creel, the threads were drawn off the bobbins and wound in long, consistent stretches onto the warping board. Fitted with pegs at regular intervals, the board helped measure the correct length of each warp thread and keep them organized in proper sequence.
Once fully arranged, the warp was carefully transferred from the warping board onto the warp beam—a large roller mounted at the back of the loom. The yarns were wound evenly and under tension onto the beam, keeping them neat, aligned, and ready for the weaving process.
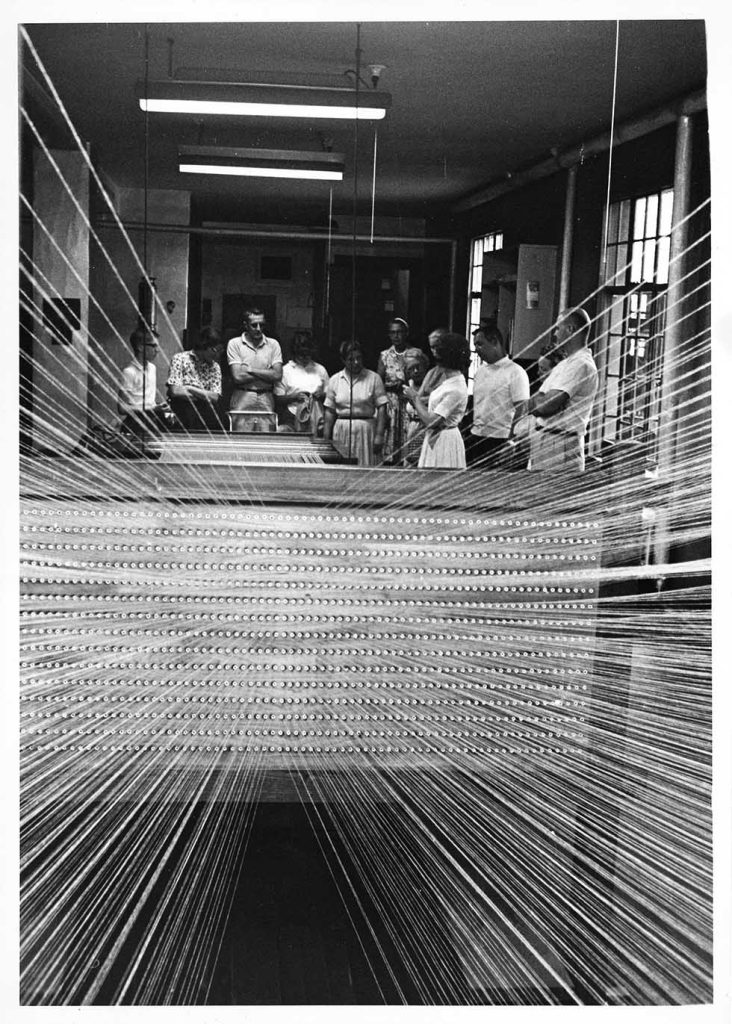
Step 10: Threading the Heddles
Once the warp was securely wound onto the beam, the next step was threading the heddles. This is a precise and essential part of the weaving setup. Each warp thread is passed through the small eye, or loop, of a heddle—a thin metal or string wire attached to a vertical frame called a shaft or harness.
The way the threads are distributed among the heddles determines how they will move during weaving. Each shaft can be raised or lowered independently, and when a thread passes through a heddle on a particular shaft, that shaft controls the position of the thread. By carefully selecting which thread goes through which heddle—and on which shaft—the weaver establishes the foundation for the woven pattern.
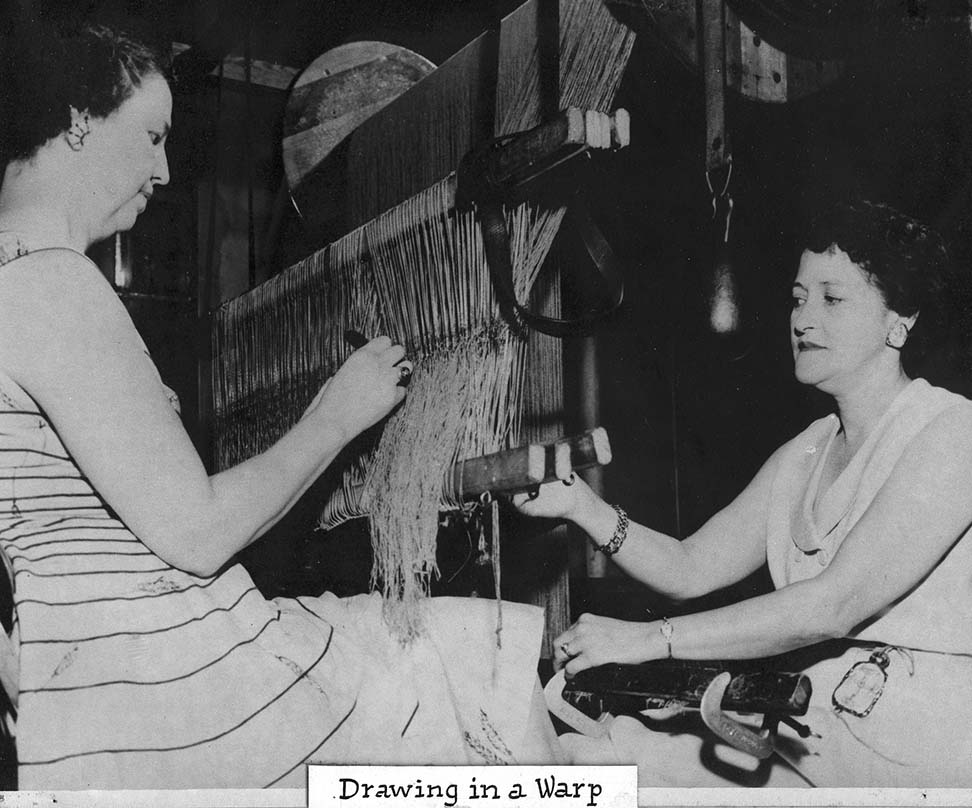
This process follows a specific sequence, known as a threading draft. Even a single misplaced thread can disrupt the design, so it requires great care and concentration.
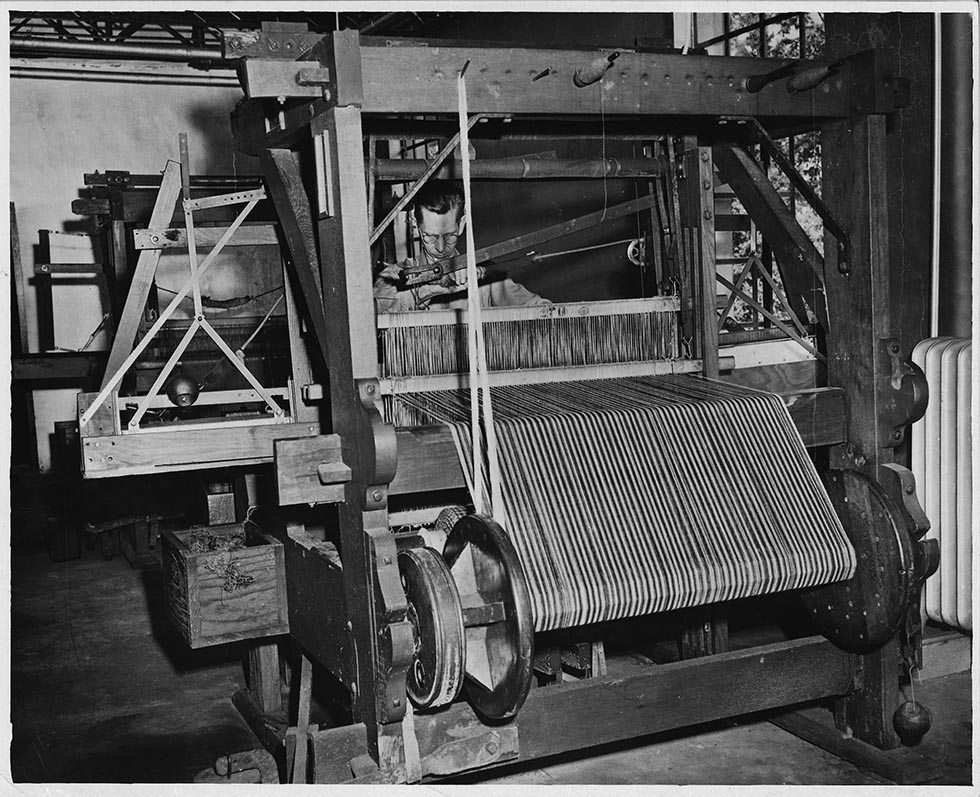
Step 11: Weaving
At Biltmore Industries, weaving was done on large handlooms by skilled artisans. Weaving on a loom is the process of turning yarn into fabric by interlacing two sets of threads. The vertical threads, called the warp, are tightly stretched across the loom. The horizontal threads, called the weft, are woven over and under the warp using a shuttle (shown below in the weaver’s right hand).
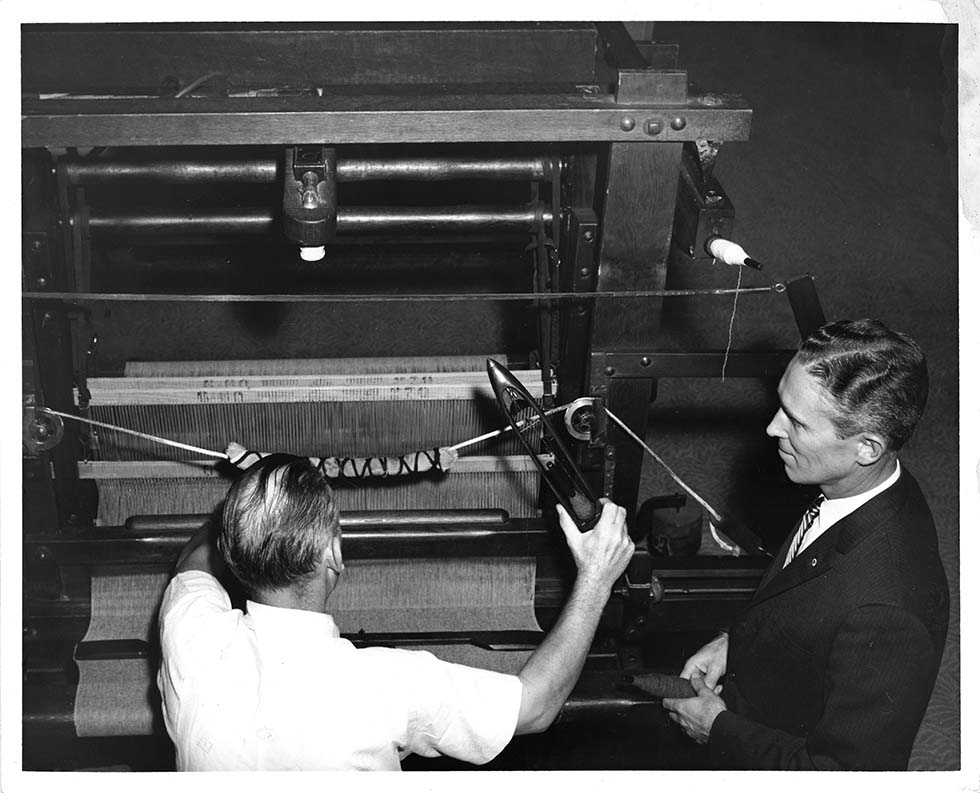
To create each row of fabric, the weaver uses foot pedals (called treadles) to lift specific warp threads, forming a space called the shed. The shuttle passes the weft thread through the shed, and a tool called the beater pushes the thread into place. By repeating this process row by row, the fabric slowly takes shape.
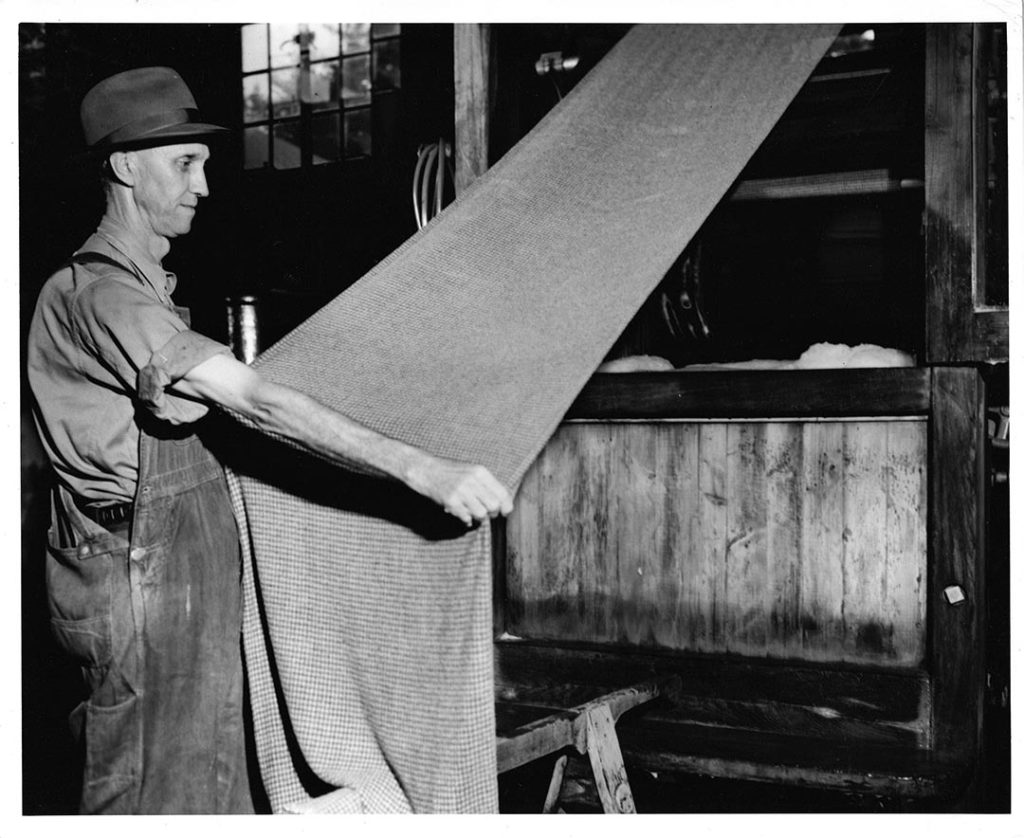
Step 12: Inspection and Repair
After the cloth was woven, it underwent a careful process of inspection and repair. Every inch was examined for flaws or broken threads, which were meticulously mended by hand using a needle and thread.
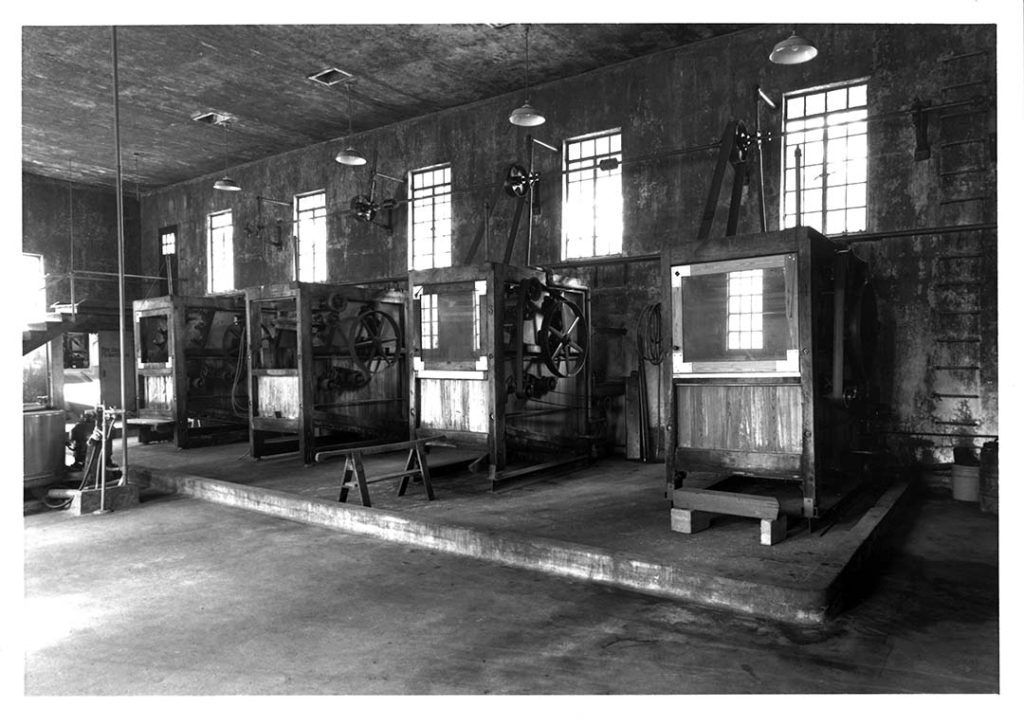
Step 13: Washing the Cloth
After inspection, the cloth was washed for hours in hot water and liquid Ivory Soap to pre-shrink and soften it. The water temperature had to be carefully controlled to ensure the desired results.
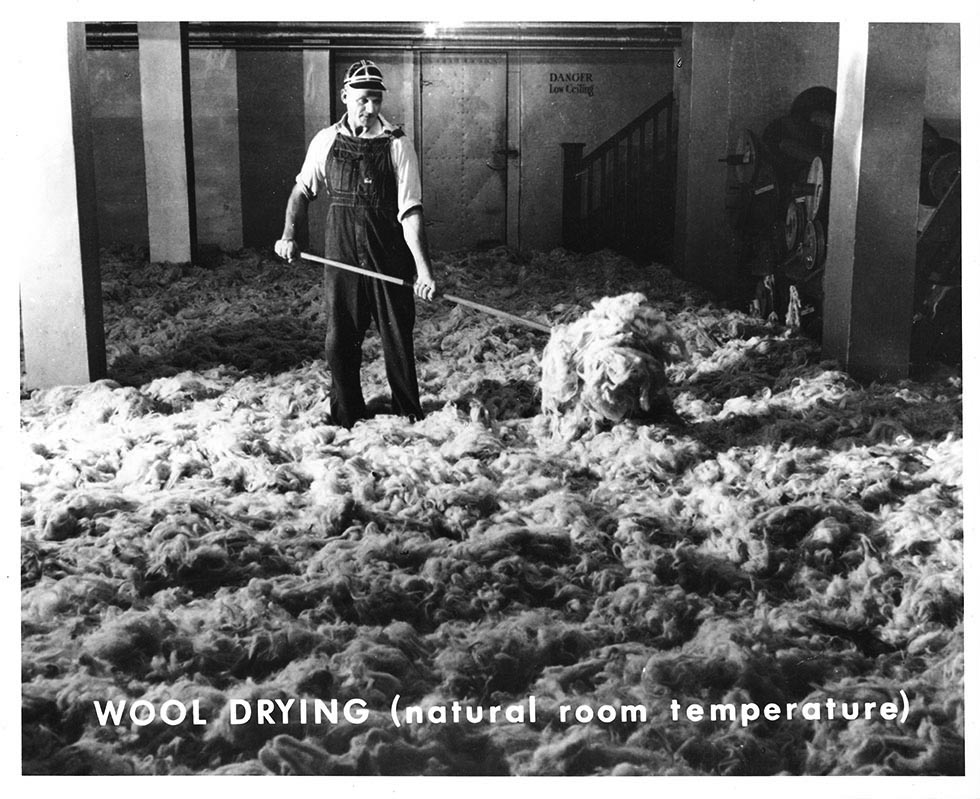
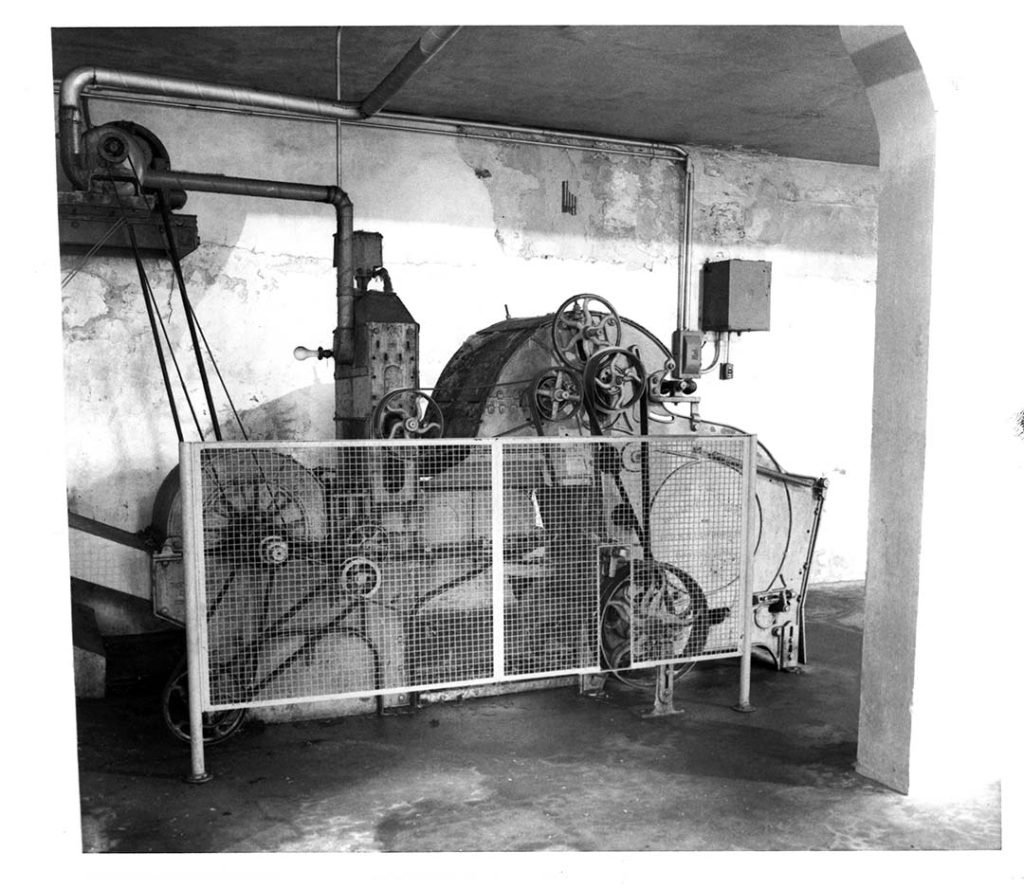
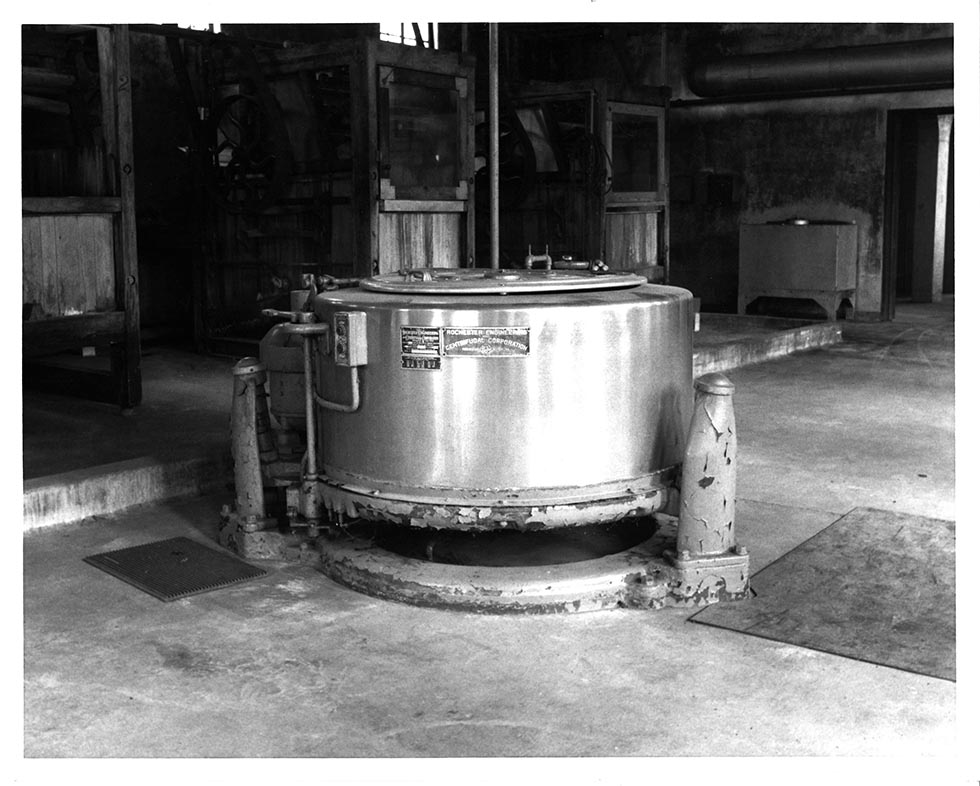
Step 14: The Extractor
After washing, the wool was placed in an extractor machine to remove excess moisture and then taken outside to air dry on tenterhook fences.

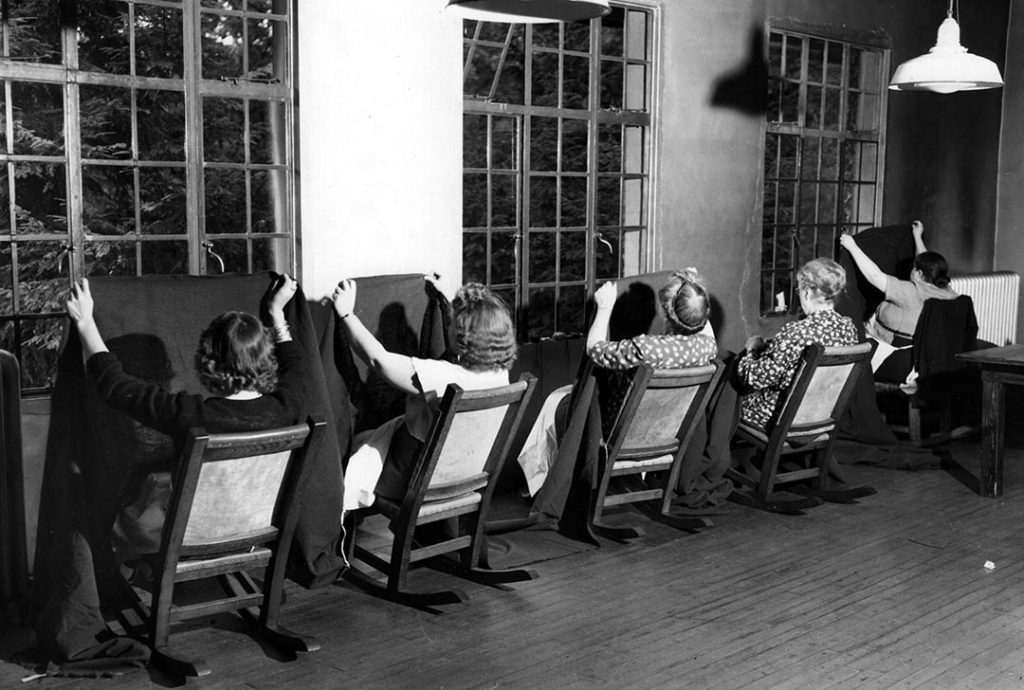
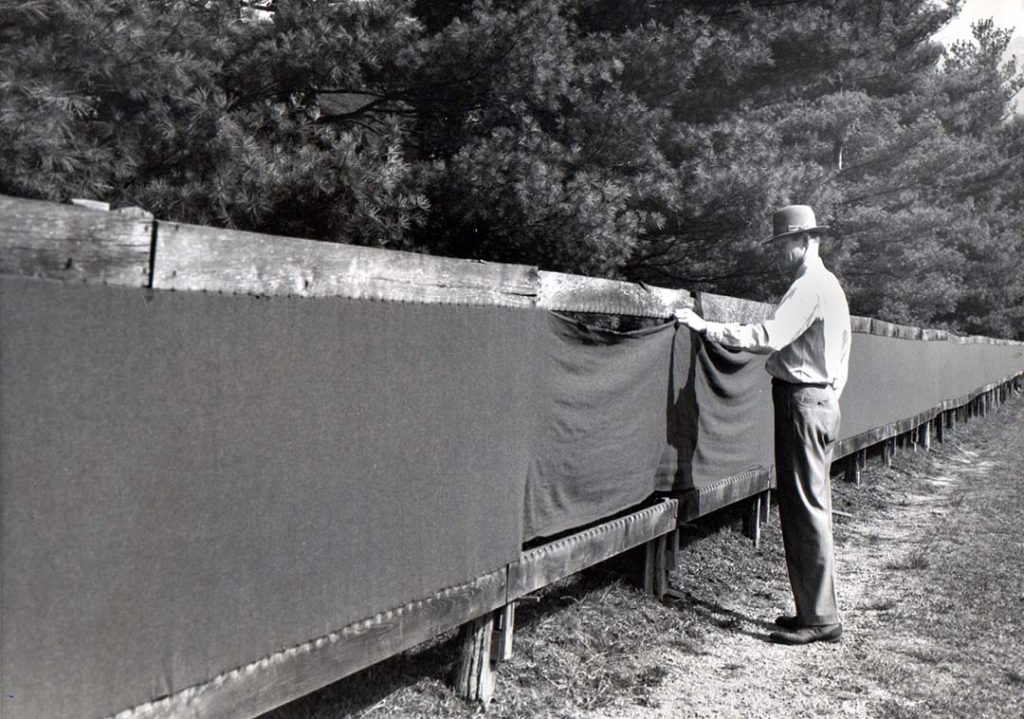
Step 15: Air Drying on Tenterhook Fences
After the wool was washed and the excess moisture was removed, it was taken outside and hung on tenterhook fences to air dry. A “tenter” is a wooden frame designed to stretch and dry fabric evenly, helping to prevent shrinkage. The cloth was secured to the frame using hooked nails—known as tenterhooks—which kept it taut during the drying process.
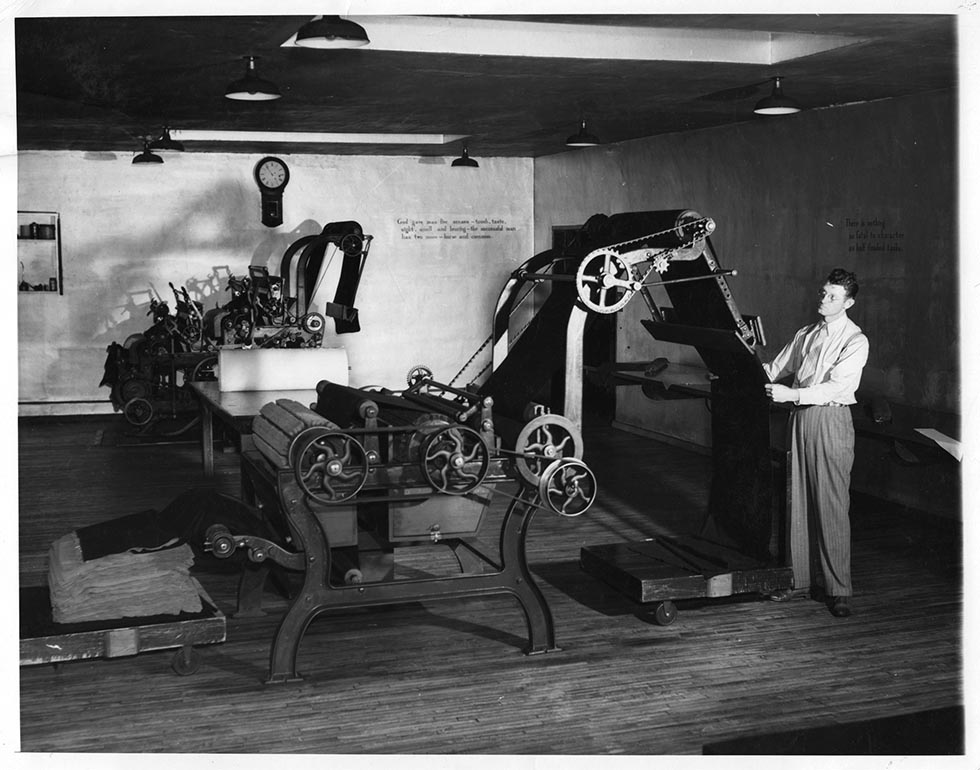
Step 16: Finishing Processes
After air drying on tenterhook fences, the fabric was napped and sheared—two finishing processes that enhance both texture and appearance. Napping raises the surface fibers of the fabric, creating a soft, velvety feel. Shearing then trims those raised fibers to a uniform height, resulting in a smooth, even finish.
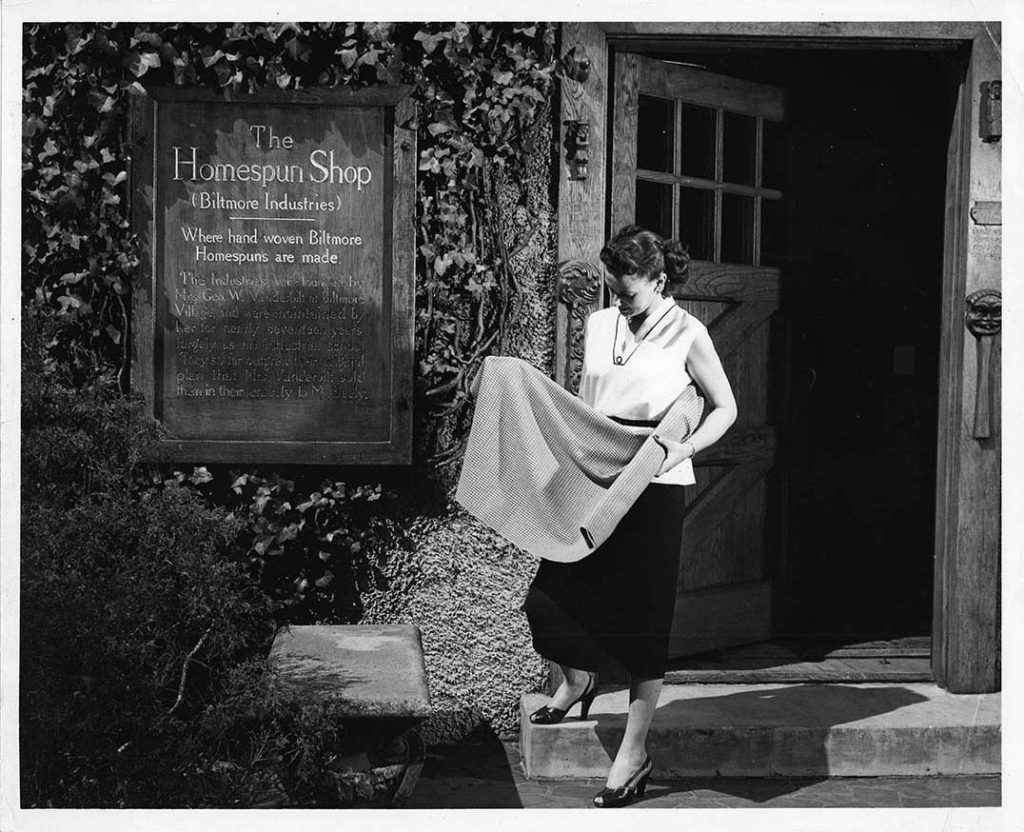
Once sheared, the fabric was steam-pressed, then folded or rolled into a finished product, ready to be sold in Biltmore Industries’ Homespun Shop.
